Since it is officially fall now and the highs in Dallas are down to the nineties, I have been going through the kids' clothes and storing what isn't in season, doesn't fit, etc. Going through Gigi's stuff I found this H&M shirt, which used to be a dress but still fits as a shirt. I really like it, but the two bows on the shirt totally bug me. I think it would be cuter if it was one bow, and because the bow is made of the same t-shirt material it gets all bunched in the dryer. And I am not ironing a t-shirt bow.
Not cute.
So I was thinking, surely I could take off the bows but of course I'd have to put something back over it because the holes would show. Why don't I try to make a bow to pin on her shirt? I love making a new outfit out of an old outfit!
Before
Please excuse the quality of these pictures. It was nighttime when I was doing this, and I had bad lighting and I don't know how to shoot in manual mode! I will figure it out one day.
I went through my extra ribbon. I had a lot of pink but not a lot of red that I thought looked right. So I cut a strip off a red bandana, sewed down one side, turned it inside out and ironed it. Then I used the leftover ribbon from Gigi's 3rd birthday party.

All you need is ribbon, a needle and thread in a complementary color and a safety pin. Oh, and be sure to iron your ribbon first so it's nice and smooth (if necessary).
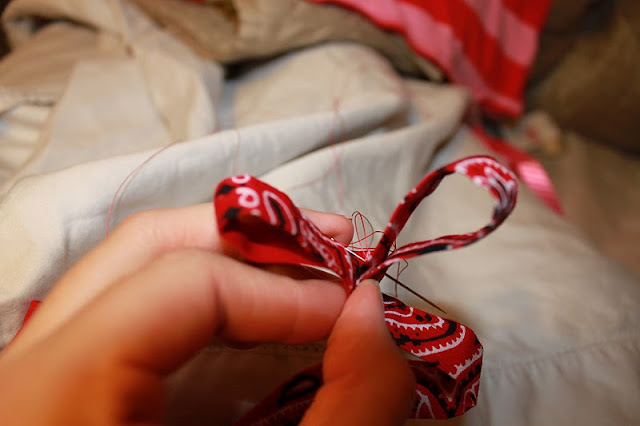
Start with the tail end of the fabric or ribbon in the back (so it will be hidden) and push your needle through. Experiment with when you start on the different ribbons. If you don't like the way it's going just rip the thread out and start over.
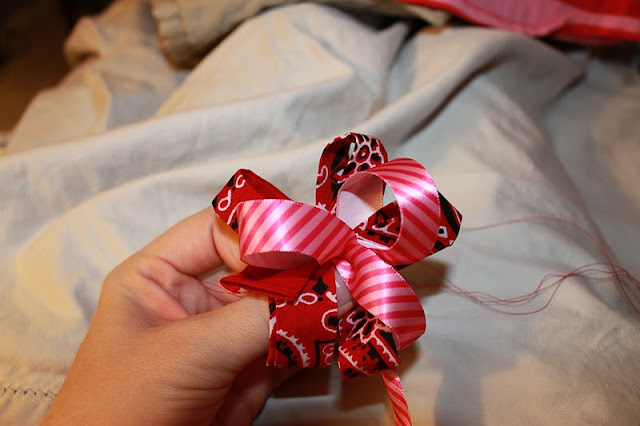
Make loops with your different ribbons one at a time for a layered effect or all at the same time for a more textured look, like I did below. Don't get discouraged! I started over three times. I found that after I made the first layer with the bandana fabric I couldn't incorporate the other ribbons the way I wanted to so I ended up working with all of them at once.
Once you are satisfied, take a safety pin and stitch the permanent end to the flower. Sew it slightly higher than the middle of the flower so it doesn't flop over when you pin it to your shirt.
Voila!
When I showed Gigi her new shirt the next morning she was really excited and wanted to wear it to school! Yea! When I first started sewing I spent all this time working on a pillowcase dress for Gigi and when I showed it to her (so excited and pleased with myself) she declared that she didn't like it and refused to wear it. That is a major hazard of making things for other people! Luckily bribes work well on 3 year-olds.
I was very curious to see what the flower would look like when I picked her up. I am pleased to report that it looked good as new!
Tips: 1) Having a variety of fabric/ribbon textures creates an interesting look. 2) Start off small. You don't want your flower-bow to be too big (especially if making for a kid) so keep in mind when you make your first loops that it will be double the size. 3) Don't be afraid to start over. I started over 3 times.


I do not know why those two pictures are showing up at the bottom. They aren't there when I was editing. I would delete them but there's nothing to delete!
ReplyDeleteNot only a great cook, but an excellent seamstress as well! "Baby Girl" looks like she just loves her new dress. LOve to you both.
ReplyDeletePapa
Taylor, excellent work!
ReplyDelete